
Docker is the way most Jellyfin servers run, and for good reason: updates are one command, the server cannot scatter itself across your system, and moving to different hardware is copying a folder.
It is also where most new installations go wrong, almost always in the same two places. Both are covered below rather than left for you to find.
The compose file
Make a directory for the server, and put this in it as docker-compose.yml.
services:
  jellyfin:
    image: jellyfin/jellyfin:latest
    container_name: jellyfin
    user: 1000:1000
    network_mode: host
    volumes:
      - ./config:/config
      - ./cache:/cache
      - /srv/media:/media:ro
    restart: unless-stopped
Then:
docker compose up -dOpen http://<the machine's address>:8096 and the setup wizard is waiting.
What each line is doing
Worth reading once, because two of these are the settings that go wrong.
image pins the official image. latest is fine for a home server. Pin a
version number instead if you would rather decide when to move.
user: 1000:1000 is the first of the two. It makes Jellyfin run as a real user
on your machine rather than as root. Get it wrong and the server cannot read
your files, and the symptom is an empty library rather than an error. Find your
own numbers with:
id -u && id -gUse whatever that prints. On most single-user Linux machines it is 1000 and 1000. On a NAS it usually is not.
network_mode: host is the second. It gives the container the machine’s own
network, which is what lets Jellyfin be found automatically by apps on your
network. Without it, clients have to be pointed at the server by hand.
It only works on Linux. On macOS and Windows, Docker runs in a virtual machine and host networking does not behave, so use ports instead:
    ports:
      - 8096:8096
volumes are the three things the container needs from outside itself. config
holds the database, your users, your watch history: this is the directory to
back up, and the directory to copy when you move hardware. cache holds artwork
and transcodes and can be thrown away. The third is your media, and :ro mounts
it read-only.
Tip
Mount your media read-only. Jellyfin has no reason to write to it, and a read-only mount means no misconfiguration and no plugin can ever delete a film. The one exception is if you want Jellyfin to write NFO metadata files next to your media, which needs write access.
restart: unless-stopped brings the server back after a reboot or a crash, but
leaves it alone if you deliberately stopped it.
Mount your media at a sensible path
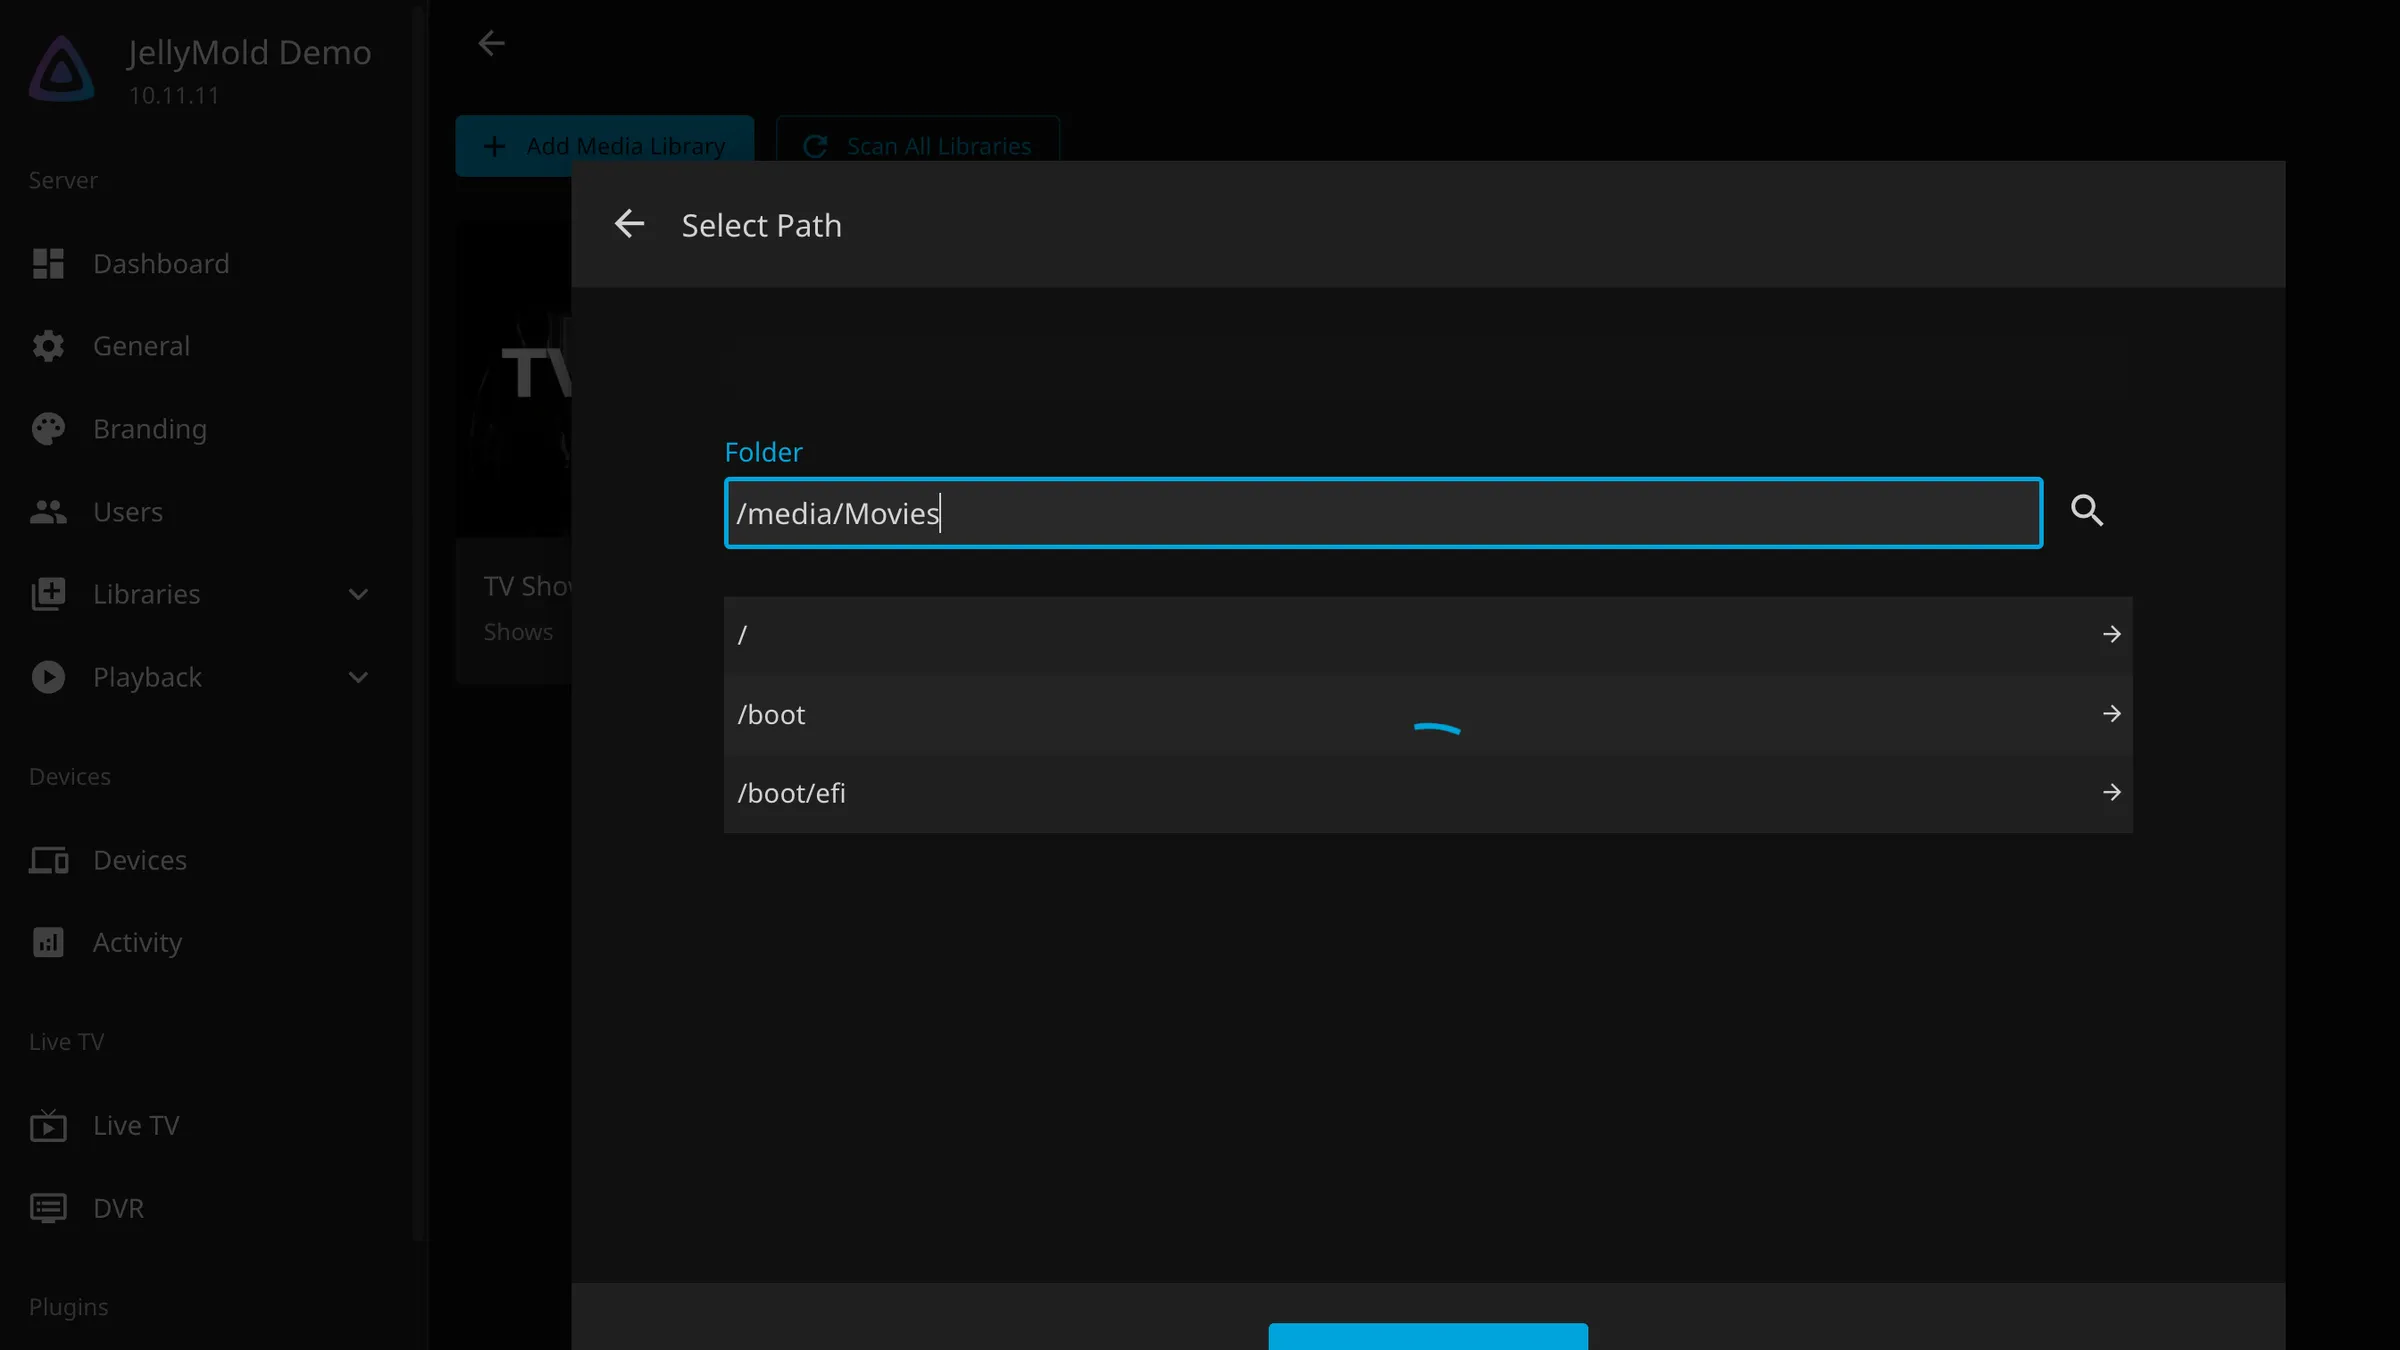
Inside the container, your media is at whatever you said on the right of the
colon. /media above. When the setup wizard asks where your films are, that is
the path to give it, not the path on your host.
This trips up nearly everyone once. /srv/media/Movies on your machine is
/media/Movies to Jellyfin, and typing the host path gives you a library that
scans nothing.
Careful
If your media lives on several disks, mount each one separately and give the library several folders. Do not try to be clever with symlinks: a symlink pointing outside a mounted volume is broken from inside the container, and it is a long evening working out why.
Hardware transcoding, if you need it
For an Intel machine with QuickSync, the GPU has to be passed in:
    devices:
      - /dev/dri:/dev/dri
For Nvidia, install the container toolkit on the host and add:
    deploy:
      resources:
        reservations:
          devices:
            - driver: nvidia
              count: all
              capabilities: [gpu]
Neither does anything until hardware acceleration is also turned on in Dashboard, then Playback. Passing the device in is half the job.
Note
Skip this until you know you need it. A server that direct plays to its clients never transcodes, and a client like JellyMold that plays your files as they are is the reason many servers never transcode at all.
Look after it
Updating
docker compose pull && docker compose up -dReading the logs
The first move whenever anything is wrong.
docker compose logs -f jellyfinBack up the config directory. That is the whole server: users, watch history,
settings, metadata. The container is disposable, the media is separate, and
config is the only irreplaceable part.
When the library comes up empty
Almost always permissions, and the container tells you nothing because as far as it is concerned the directory really is empty.
Check what the container can see:
docker compose exec jellyfin ls -la /mediaEmpty output, or permission denied, and you have found it. File permissions in Docker, and why your library is empty is the whole story and the fix.